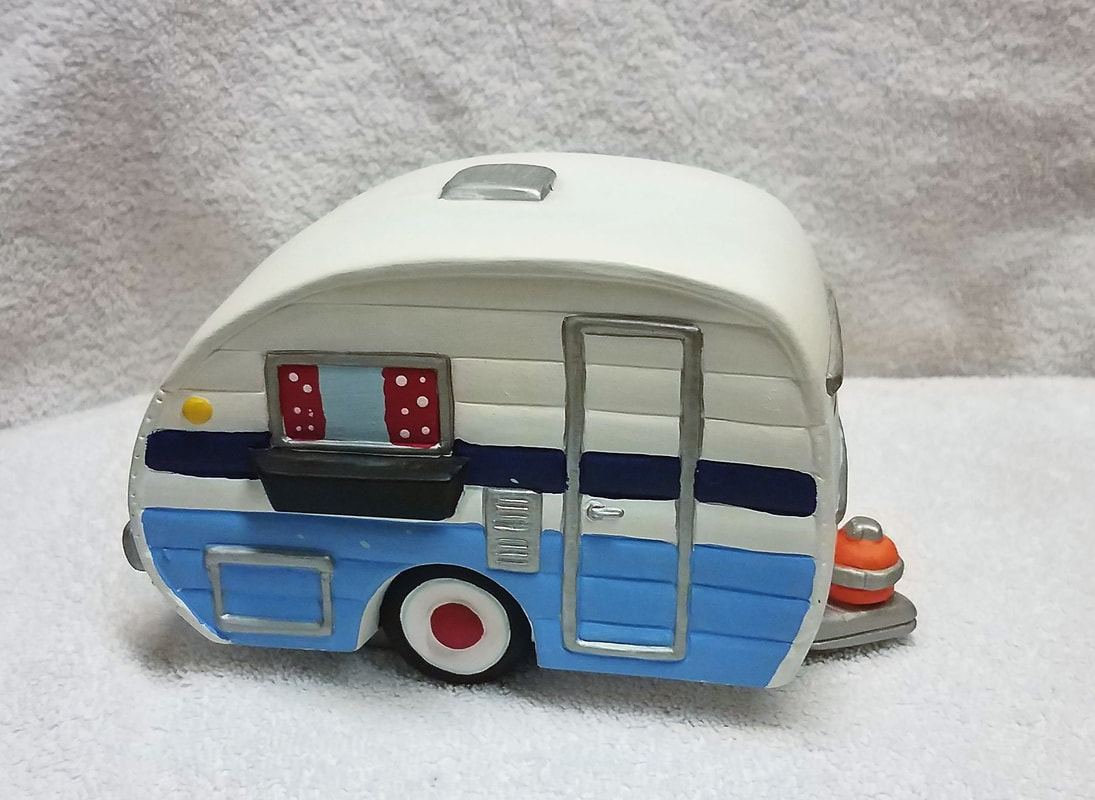
Retro camper bisque ( our store or a local ceramic shop)
Acrylic-
White
Dark blue
Black
Light blue
Yellow
Red
Orange
Silver
Steps-
1. paint the whole camper white. Make sure to check for all "white" spots.
2. paint the 3 lower stripes on both sides of the camper with light blue. You may need two coats to cover well.
3. paint one stripe with the dark blue on both sides of camper. It could the be next stripe up from the light blue or you can skip a couple of strips.
4.paint a lighter blue in all 5 of the windows. Make sure to get a nice even coverage in the small area that you are working with.
5. after the windows have tried take a pencil and draw lines to show how you want your curtains to look. I drew straight lines to make it a bit easier for me.
6. paint red on the three small windows where your curtains are located. You may two coats of red to get a nice even coverage.
7 after the red as dried you can put polka dots on the curtains. You make even polka dots by using the but end of your brush as a "dotter" tool. The windows on the end I made them look like val-era blinds. You can do that by base coating the area with white then coming back with black and painting lines randomly over the white.
8.paint black under the window seal and the tires.
9 paint white on the outside of the rims of the tires, and red on the inside rim of the tires.
10. there are two small lights, one on each side, of the camper. Paint them yellow.
11. the gas tank on the front of the camper is to be painted orange.
12. now I would check for any "white" spots or "boo boos" that may have occurred.
13. you need to now spray your piece really well. Let it dry.
14. lastly paint the trim of the door, windows, vent, front tongue, and top vent with silver. paint two coats of silver.
Done.

 RSS Feed